Hardware wallets are small, fragile devices that hold the keys to your financial freedom! We’re sure by now you know the importance of owning one if you hold any cryptocurrency. If not, you should read this post.
A hardware wallet keeps your private keys offline and away from easily hackable devices such as computers and smartphones. When you move your assets onto a hardware wallet, you are trading a plethora of digital threats for the more predictable, controllable risks of the physical world.
The Trezor One is one of the most affordable & reliable hardware wallets on the market. In this blog post, we’re talking you through how to set up the Trezor One device.
GETTING STARTED WITH THE TREZOR ONE HARDWARE WALLET
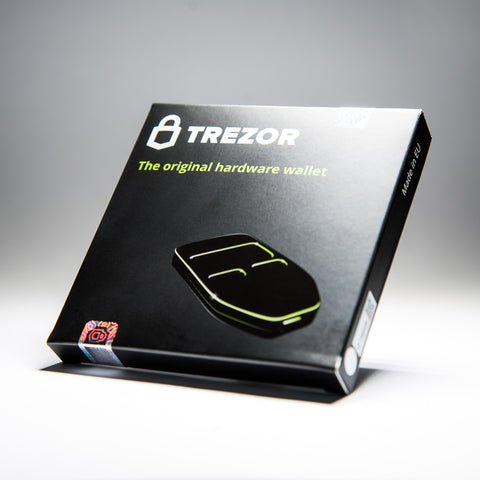
First and foremost, you want to make sure the security seal on the box is untampered. In the case that it is, you can reach out to Trezor Support here. You can also refer to Trezor’s official packaging timeline to verify what you should expect, see: https://wiki.trezor.io/Trezor_packaging_timeline.

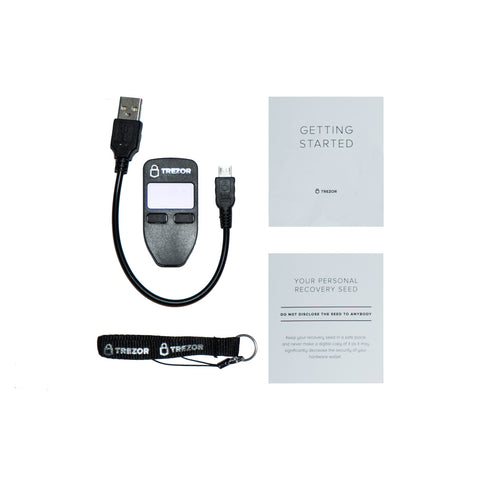
Inside the box, you should have a Trezor hardware wallet, a recovery seed card, a lanyard, instruction papers and a USD to Micro USB cable.

SETTING UP YOUR TREZOR ONE
1. Connect Trezor to your computer
Connect the Trezor wallet to your computer using the USB cable provided. On your Trezor wallet’s screen, you should then see a Lock icon, and an instruction asking you to go to trezor.io/start.
2. Go to trezor.io/start
Learn how the Trezor pin and the recovery seed works. Then, choose if you want to subscribe to their newsletter or not, and continue to setting up your device.
3. Install Trezor Wallet
Go to wallet.TREZOR.io if you’re not being directed to. In order for your Trezor device to communicate with your Trezor wallet, you can either install the Trezor Chrome Extension, or the Trezor Bridge specifically for your operating system.
4. Install latest firmware
For safety reasons, no firmware will be installed when the device is shipped. Click "Yes, Install" to begin installation of the firmware for the first time. Cross check the firmware fingerprints on the browser screen against the one on your Trezor, make sure they match. Click "Continue" on your Trezor.
5. Reconnect Trezor
Plug it out, plug it in again and go to wallet.trezor.io.
6. Give Trezor device a name
7. Setting up the PIN
You will see a 3×3 grid (with dots) on your browser. And you will see a 3×3 grid (with numbers) on your trezor.
Once you’ve thought of a pin, you are going to refer to the exact position of these numbers in your trezor, and hit them in sequence in your browser. You will need to do this twice to confirm your PIN.
8. Write down the recovery seeds
Next, your trezor will display a unique combination of 24 words. This will allow you to recover your accounts in case you lose your device. Write them down, all 24 words, in the recovery seed card provided, word by word. Alternatively, you can use a recovery phrase storage device such as the Billfodl.
Be sure to double check and verify you have recorded the recovery phrase correctly, then select finish on your Trezor device.
9. Enter PIN to access Trezor wallet
Go to https://wallet.trezor.io/ again on your browser (if you already have it closed), enter PIN, hit enter and access your wallet for the first time.
If you would like further one-on-one support in setting up your hardware wallet device, we offer in-depth remote consultations. You can book here.